All good things come to those who wait.
The sous vide is teaching me something that no one else has managed before. No, it isn’t punctuation or maths, this new found skill is patience. And using my new Polyscience sous vide kit from SousVideTools.com requires bags of it – it’s been a case of learn some or be disappointed with dinner. And when dinner doesn’t go to plan I turn into a pain in the ass. And no one (least of all poor Mathew) wants that.
I like spontaneous meals as much as the next girl, like everyone else I get those evenings when I have a particular taste and nothing else will do, but on balance I generally like to plan meals in advance. I enjoy coming up with ideas and chewing them over, tweaking them and getting them right in my head before getting into the kitchen to see how they work. However, mulling an idea over a few days is different from having a dish cooking there in front of you for days on end.
This week that wait was colossal. It began on Tuesday and we finally ate today – Sunday. And all that time lent itself to extra thinking: Was the brine right? What about the temperature? What if I’m cooking it for too long? What if we have a power cut and it switches off? And most troublesome of all; how was I going to get the skin crispy on eating? With three days in the water bath I had a lot of time to wonder and worry about the meal that was on the (seemingly distant) horizon.
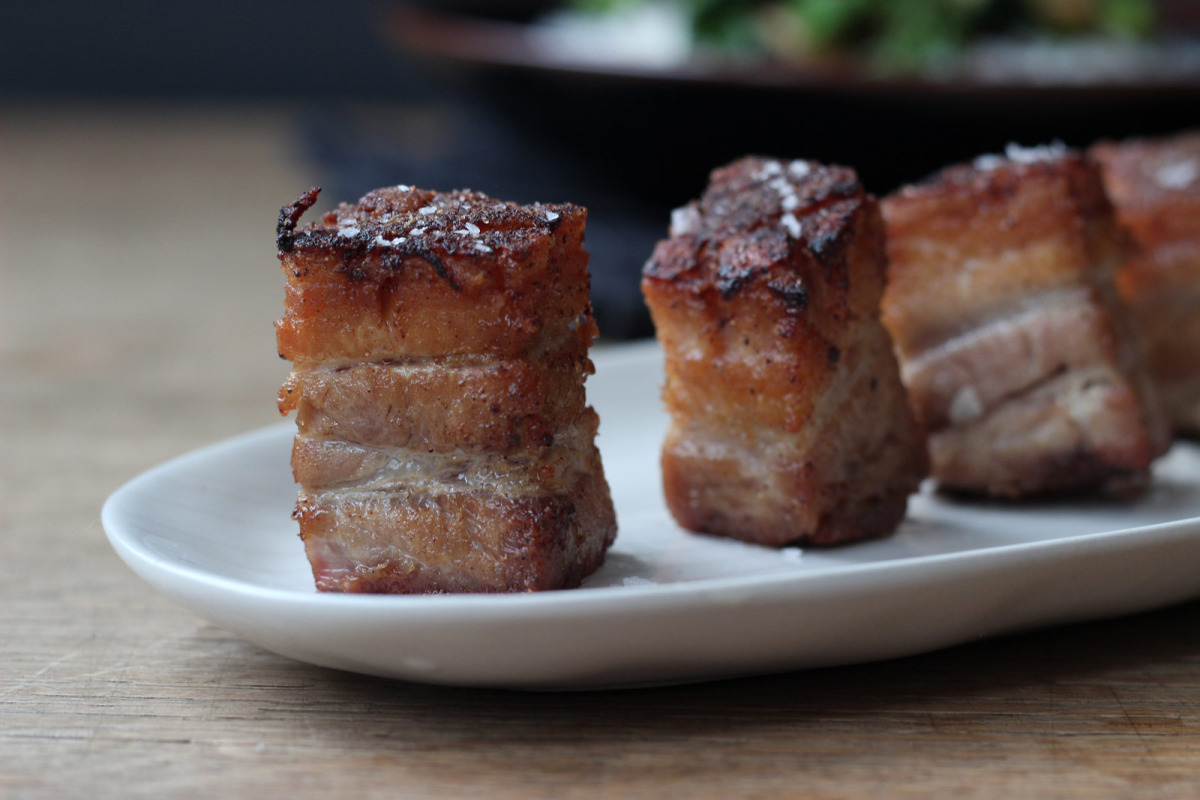
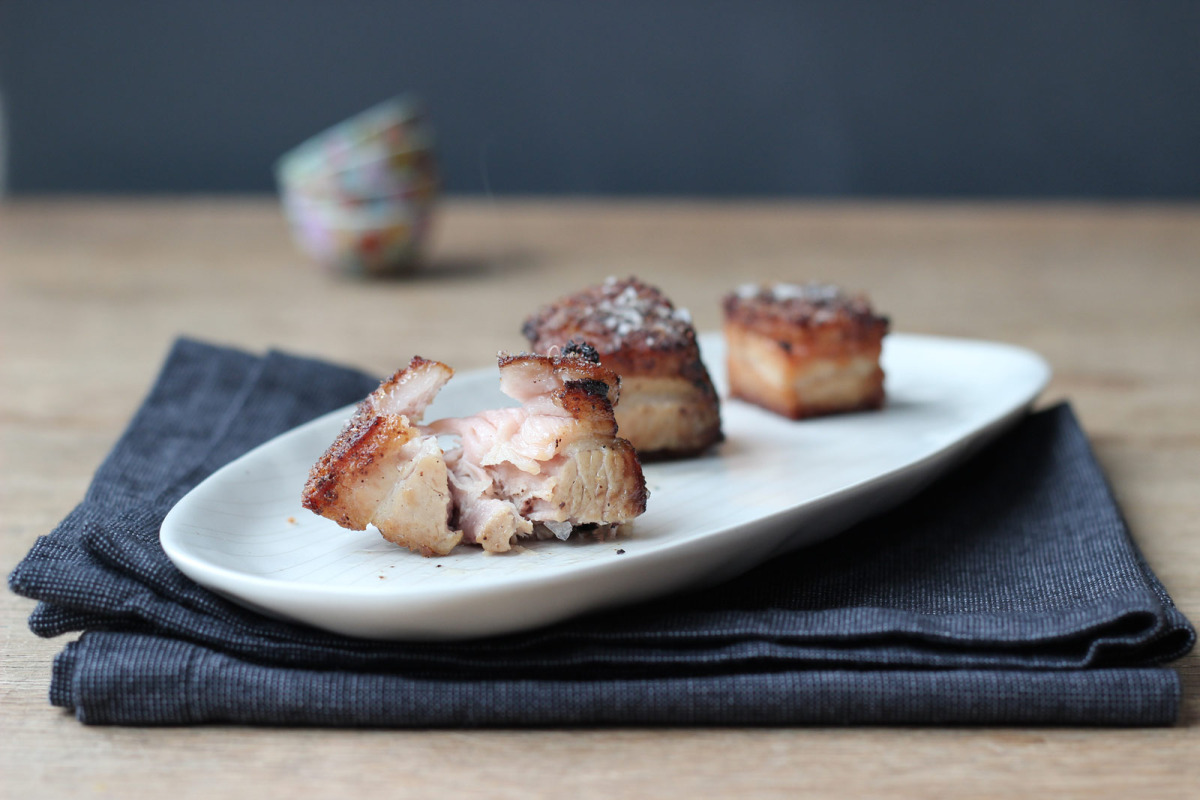
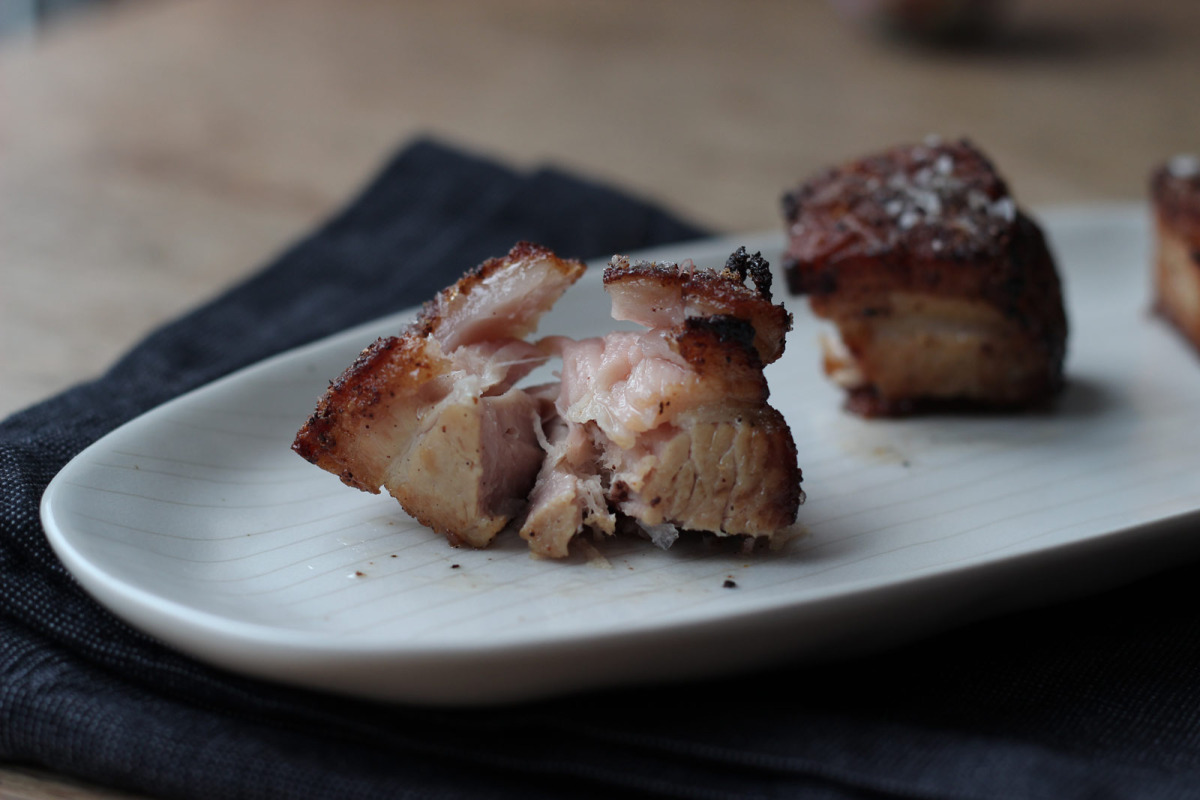
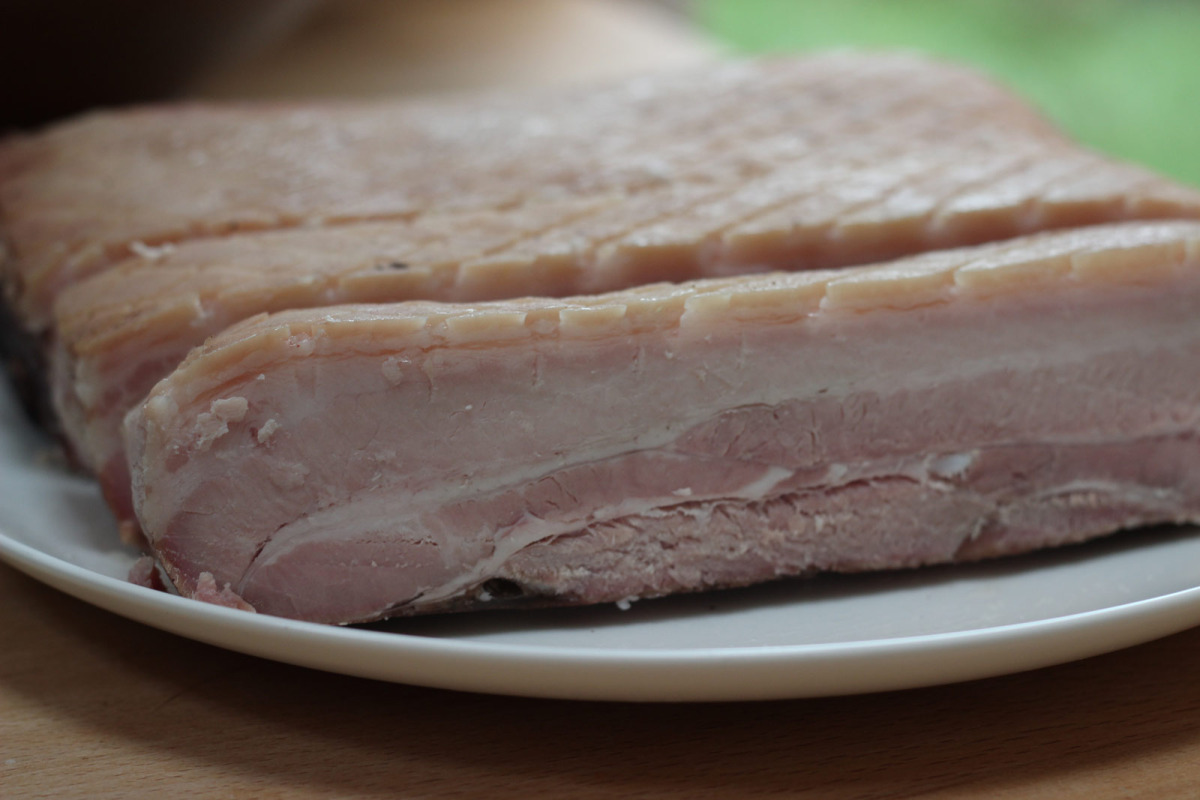
But today the waiting was rewarded. More than I dared hope. The pork flesh is juicy, well seasoned from within and meltingly tender, and the skin that’s dusted with Chinese five spice and salt before crisping up is super crunchy and finger lickingly tasty. I think this must be one of the best pieces of pork I have ever eaten. It’s destined for the dinner party hit list, and when our home renovations woes are behind us (fingers crossed, we should find out our fate this coming week) I’m going to be feeding this to any friends that walk through the door. With five days notice that is.
The 4.5 day process
- The belly is brined for 24 hours in a standard brine mix of sugar, salt, peppercorns and water.
- Then it’s sprinkled with Chinese five spice (though not on the skin) before being vac sealed and poached at 62°C for 72 hours (don’t forget to top it up with water during that time, we must have added a few litres to the bath over those three days).
- After that I cooled it quickly, and once cool, removed it from the pouch (reserving the crystal clear jellified pork stock surrounding the slab).
- I covered it with a sheet of baking paper and a chopping board and placed it in the fridge under some heavy weights for 12 hours. This pressing made it much more uniform, flat and easier to work with.
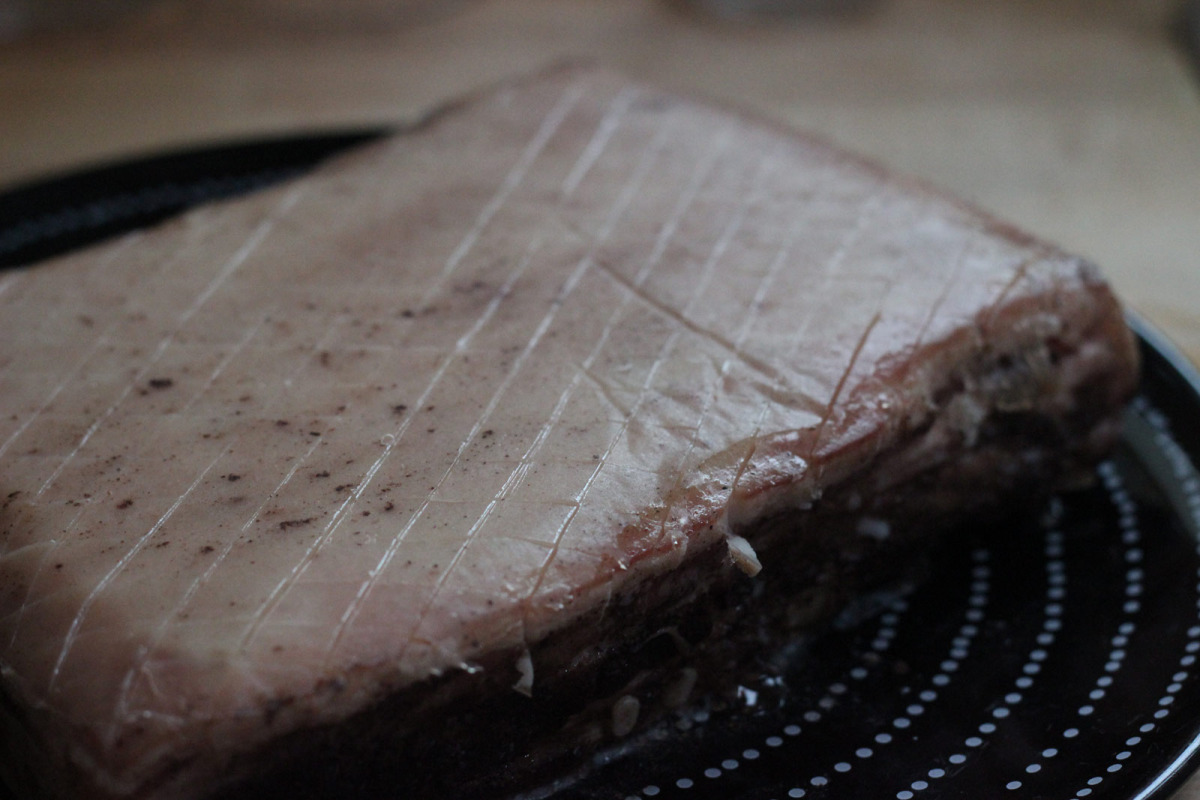
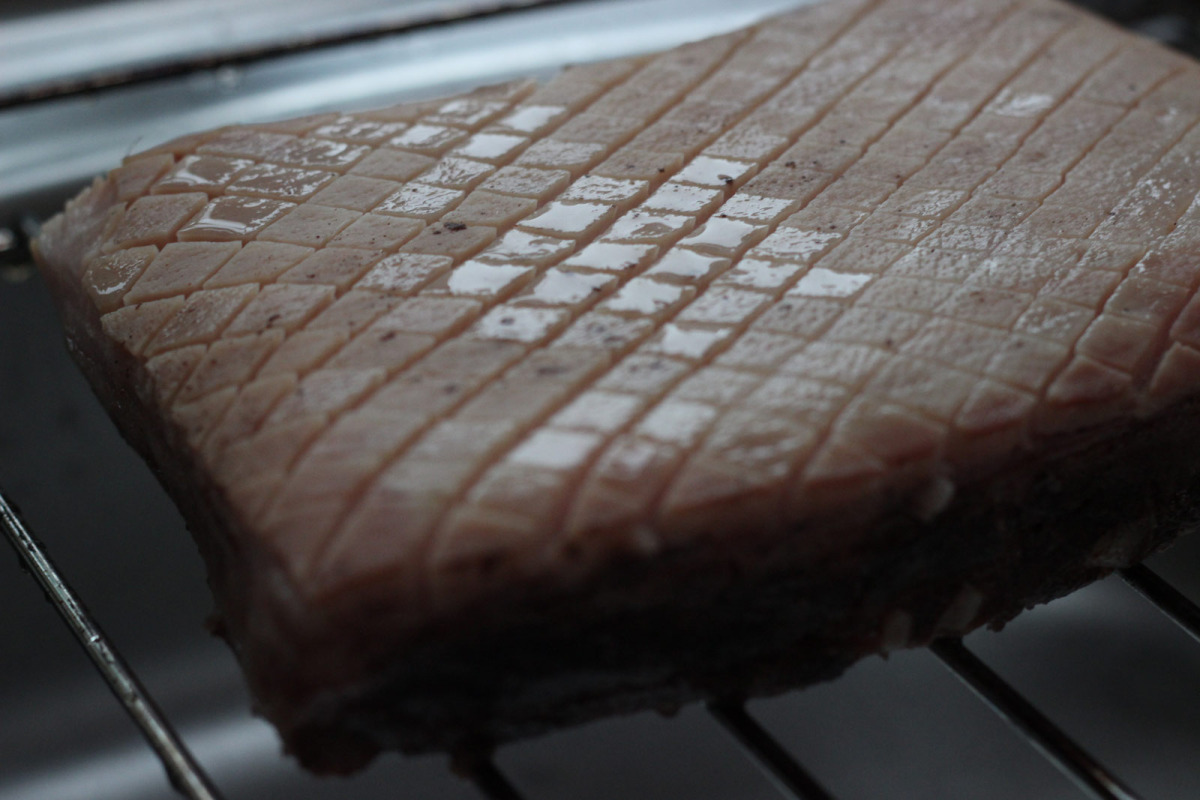
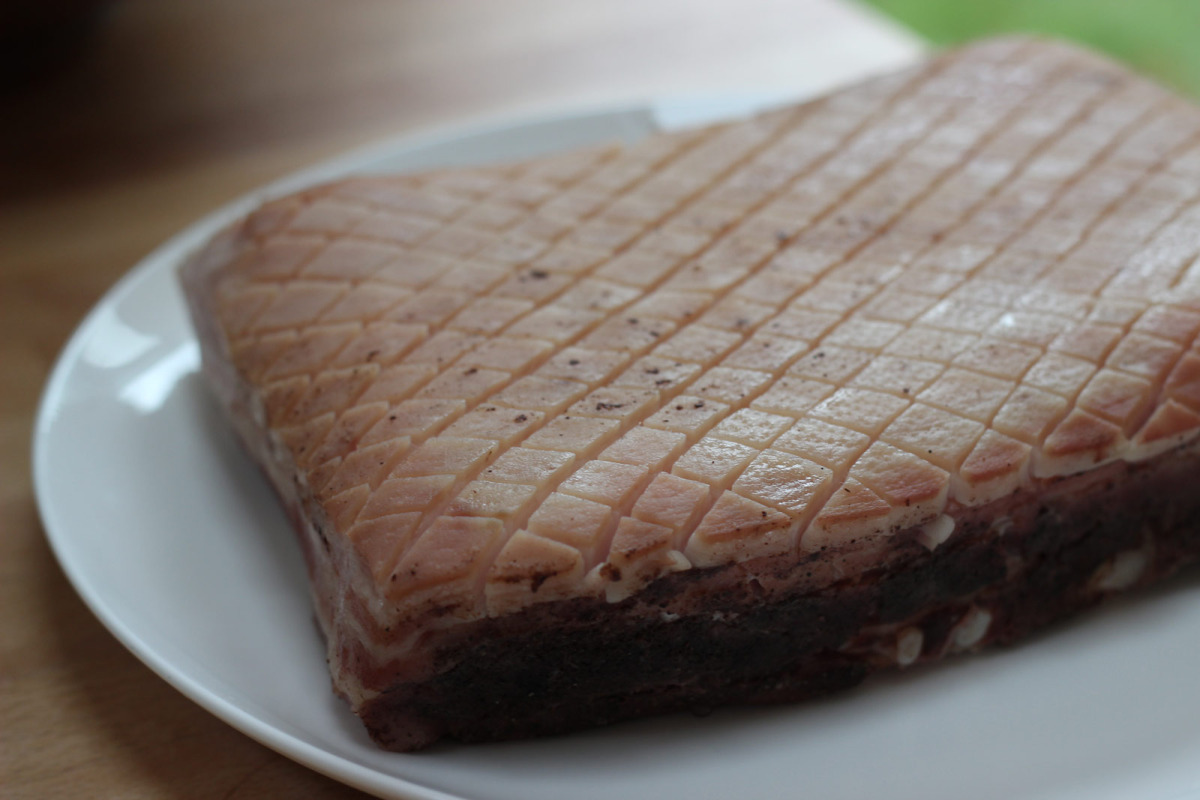
- Following that I scored the skin in a criss cross pattern (it looks at that stage like it has a sheet of plastic over it).
- Placed it onto an oven rack over the sink and poured a whole kettle of boiling water over it, this makes the scored skin really open up and steam off excess moisture in the fat, which you need to do to get crispy skin later.
- After patting the belly dry with kitchen paper I placed it into the fridge for a few hours to chill down and dry out further.
- Then it was ready to cook.
Pork belly for four, or pork belly for two and enough for another meal a different day
- 1.4kg belly pork – skin on, hair removed, not scored, mine was without bones (though had a few small ones in it)
- 100g salt
- 100g sugar
- 1 tbsp black peppercorns
- 2L cold water
- Groundnut oil
- My Chinese Blend, or:
- Chinese five spice powder
Method
- Into a large pot place the water, sugar, salt and peppercorns. Stir until dissolved (some recipes call for doing this warm then letting it cool, but this works just as well) and place the pork belly into it, skin side up for 24 hours.
- Remove the pork from the brine and on the flesh side only, sprinkle Chinese five spice powder. Then vac seal and place into your sous vide at 62°C for 72 hours.
- Remove it from the sous vide and cool down in an ice bath or under a cold running tap for a good 15 minutes. Open the pouch and remove all the clear pork gelatin off from round the slab, reserving it for another recipe (I will be blogging my sous vide pork belly with dashi and pork consomme with noodles shortly, and it’s made for that).
- Transfer the slab to a plate then cover with greaseproof paper and a chopping board and weigh down in the fridge (I used some large tins and jars, a mortar would work too) leave for 12 hours.
- Take out of the fridge and score the skin diagonally with a sharp knife, cutting into the fat beneath the skin but not the flesh.
- Place the pork onto a wire or oven rack and suspend over the sink, then pour a full kettle of boiling water over the skin. Leave the pork there for 10 minutes as the steam steams off and the crosses open right up.
- Pat dry with kitchen paper to get rid of all the moisture on the surface and place back into the fridge for a few hours to chill down and dry out further.
- Preheat your oven to 220°C.
- Remove the pork from the fridge and cut into cubes as large as you like, then sprinkle the skin of each cube with a little five spice and more salt.
- Place 1cm groundnut oil into a saucepan (the higher the sides of the pan the better – this next bit will spit a lot) and heat it up on a high heat. After 5 minutes heating up place the cubed pork in there skin side down, cook for 2 to 3 minutes – you’re wanting it to get a rich golden colour. Then turn the dice over on all sides for a further minute.
- Remove all the cubes and place them onto a baking sheet, skin side up and place into the hot oven for 4 minutes to cook through and really crisp up the top.
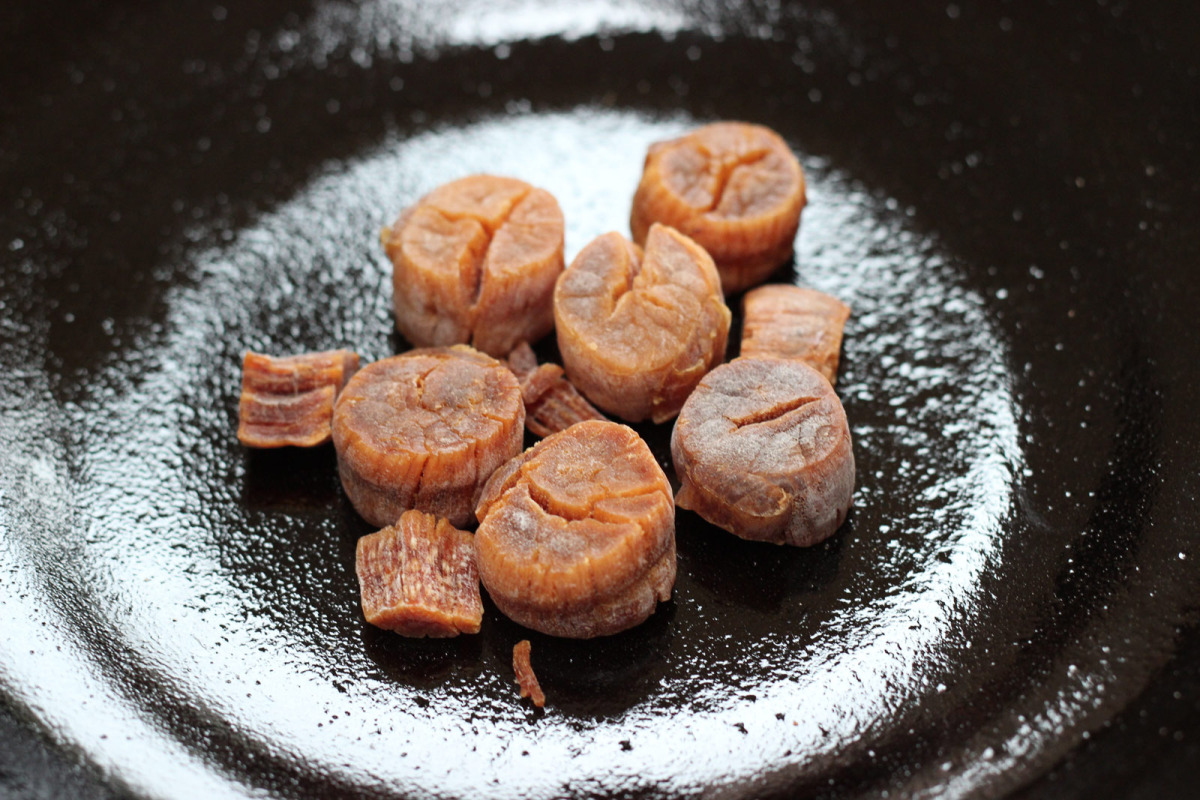
- Remove and eat. We ate our belly with jasmine rice, and Chinese stir fried vegetables and dried scallops with a ginger and garlic infusion (recipe coming soon).


